Ingredients
Equipment
Method
Step 1 - Collect and Separate the Drippings
- After roasting chicken, pour all drippings from pan into a fat separator or glass measuring cup. Let sit for 5 minutes. Fat will rise to top. Flavorful liquid will settle at bottom. You need ¼ cup (60ml) of fat for roux and about 2 cups (480ml) total liquid (combining drippings and stock). If not enough fat, supplement with butter. If not enough liquid drippings, use chicken stock.
Step 2 - The Deglaze (Unlock the Fond)
- Place roasting pan (or large skillet) over medium heat on stovetop. Leave about 2 tablespoons fat in pan, pour off excess. Heat until fat shimmers. Add ¼ cup dry white wine or sherry to hot pan. Liquid will sizzle immediately. Use wooden spoon to scrape bottom of pan vigorously. All dark, caramelized bits (fond) will dissolve into liquid. Let wine reduce by half, about 2-3 minutes. If not using wine, substitute with ¼ cup chicken stock.
Step 3 - The Roux Formation
- Once wine has reduced, add reserved chicken fat (or butter) to pan. Let melt completely over medium heat. Fat should be hot but not smoking. Sprinkle ¼ cup all-purpose flour evenly over fat. Immediately begin whisking. Mixture will bubble and foam. Keep whisking steadily—you're coating every flour particle in fat. Cook roux for 3-4 minutes, whisking constantly. Color will shift from pale yellow to light tan to golden blonde. You'll smell toasted, nutty aroma. This is raw flour taste cooking out. Do not rush this step.
Step 4 - The Slow Pour (Building the Emulsion)
- With whisk in one hand and warm chicken stock in other, begin adding stock very slowly—just a few tablespoons at a time. Whisk constantly as you pour. Roux will seize up and look thick at first—this is normal. Keep whisking. As you add more liquid, mixture will loosen and become smooth. Add stock in three or four additions, whisking thoroughly between each pour. Once all stock is incorporated, add reserved drippings (liquid from bottom of fat separator). Whisk to combine. Drop in fresh thyme sprigs.
Step 5 - The Simmer and Reduce
- Bring gravy to gentle simmer over medium heat. Don't boil aggressively—high heat can break emulsion. You want lazy bubble, just enough to steam and thicken. Simmer for 8-10 minutes, whisking occasionally. Gravy will thicken as starch granules continue to absorb liquid and swell. Flavors will concentrate. Thyme will infuse. To test for doneness, dip spoon into gravy and run finger across back. If line holds and doesn't run, gravy is ready. It should coat spoon in smooth, glossy layer.
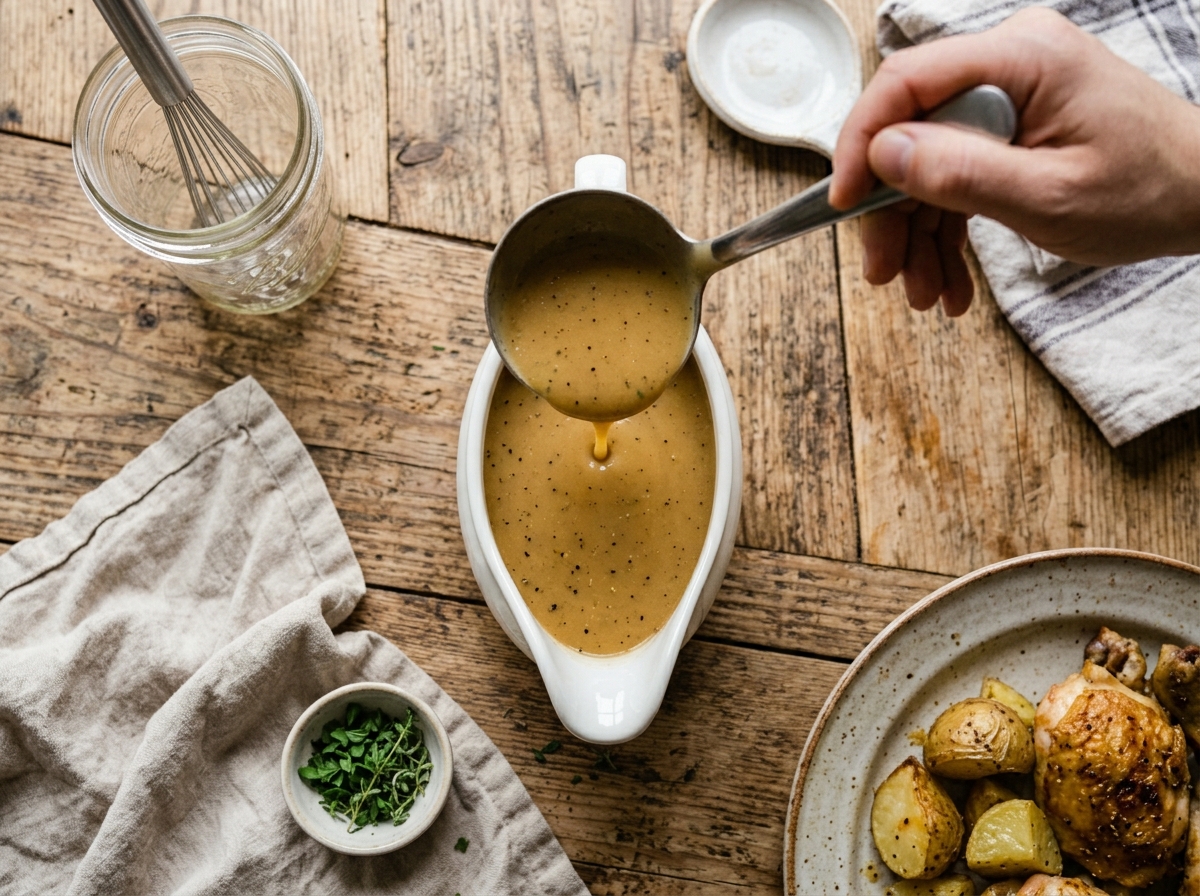
Step 6 - The Final Strain and Season
- Remove thyme sprigs. Place fine-mesh strainer over clean saucepan or serving bowl. Pour gravy through strainer, pressing gently with spoon to push all liquid through. This removes any flour clumps, bits of fond, or herb stems. Taste strained gravy. Add kosher salt and freshly ground black pepper to taste. If you want more depth, whisk in ½ teaspoon Better Than Bouillon. If gravy is too thick, thin with splash of stock. If too thin, return to heat and simmer 2-3 more minutes. Transfer to warm gravy boat or serving pitcher.
Notes
**Temperature & Timing Guide:** - Roux cooking temp: 300°F–350°F (149°C–177°C) - Roux cooking time: 3-4 minutes minimum - Gravy simmer temp: 180°F–190°F (82°C–88°C) - Total simmer time: 8-10 minutes - Gravy will thicken more as it cools **Drippings Guide:** - Best source: Air Fryer Whole Chicken or roasted chicken - Need: ¼ cup (60ml) fat + liquid drippings - Substitute: 4 tbsp butter + ½ tsp Better Than Bouillon - Don't throw away drippings—they are the flavor foundation **The Fond Secret:** - Fond = caramelized brown bits stuck to pan bottom - Pure umami: glutamates, browned proteins, caramelized sugars - Always scrape and dissolve fond—it elevates gravy from good to extraordinary - If no fond, brown butter slightly before adding flour **Roux Science:** - Purpose: Coat flour particles in fat to prevent clumping - Color stages: White (2-3 min) → Blonde (4-5 min) → Brown (6-8 min) - For chicken gravy: Blonde to light brown is ideal - Must cook out raw flour taste (minimum 3-4 minutes) **Critical Success Factors:** - Always scrape the fond—it's the flavor base - Cook roux for full 3-4 minutes (no shortcuts) - Add liquid slowly while whisking constantly - Use warm stock (not cold) to prevent seizing - Season lightly at first; adjust after reducing - Always strain for velvet texture **Flour & Stock Recommendations:** - Flour: Gold Medal All-Purpose or King Arthur All-Purpose - Stock: Kitchen Basics Chicken Stock (unsalted) or Swanson Chicken Broth - Avoid: Chicken-flavored broth with MSG or artificial flavors - Best stock has collagen and natural gelatin for body **Storage:** - Refrigerator: 3-4 days in airtight container - Freezer: 3 months in freezer-safe container - Reheat: Stovetop over low heat, whisk constantly - Add splash of stock if too thick after refrigeration - Fat may solidify on top—this is normal, will re-emulsify when heated **How to Fix Lumpy Gravy:** - Pour through fine-mesh strainer into clean pan - Press with back of spoon to push gravy through - Alternative: Use immersion blender, then strain - Prevention: Whisk constantly, add liquid slowly **Variations:** - Giblet Gravy: Simmer giblets (neck, heart, gizzard) in stock 45 min, chop finely, add to gravy - Herb Gravy: Add fresh sage, rosemary, or parsley at end - Mushroom Gravy: Sauté sliced mushrooms, add to finished gravy - Creamy Gravy: Stir in ¼ cup heavy cream at end **Make-Ahead:** - Can make gravy up to 2 days ahead - Store refrigerated in airtight container - Reheat gently, whisk constantly, add stock if needed - Perfect for Thanksgiving prep **Troubleshooting:** - Too thin: Simmer longer to reduce, or add cornstarch slurry (1 tbsp cornstarch + 2 tbsp cold water) - Too thick: Add stock 1 tbsp at a time until desired consistency - Tastes like raw flour: Roux wasn't cooked long enough—cook 1-2 more minutes - Greasy/separated: Emulsion broke from too-high heat—whisk vigorously over low heat - Too salty: Add unsalted stock or water to dilute - Bland: Add Better Than Bouillon, or reduce further to concentrate flavors **USDA Food Safety:** - Don't leave gravy at room temp more than 2 hours - Refrigerate promptly in shallow container - Reheat to 165°F (74°C) minimum - When in doubt, throw it out